
![]()
Fit Your Hand Neck Shaping
![]()
Fit Your Hand Neck Shaping
The neck on the Bridgeport pictured below is a 1970 Precision Bass neck that has already been stripped of its finish and sanded. The goal of this project is to change the neck shape to that of Jaco's 1960 fretted Jazz Bass neck.
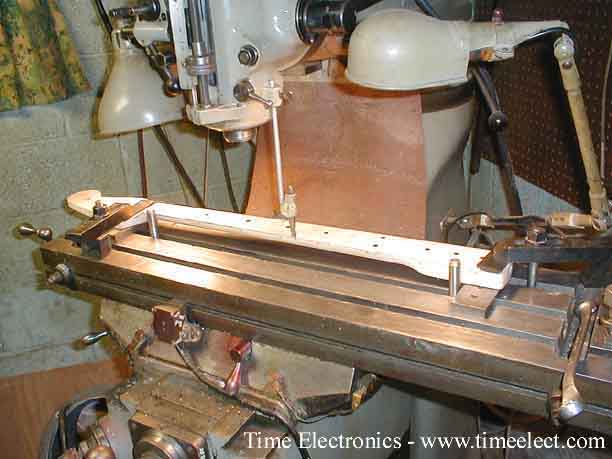
Here the neck has to be aligned to the Bridgeport. This is done with the use of ground hardened steel locating pins at each end of the neck.Then, with the use of precision measured feeler gauges, the neck is set for the cut, to be made on each side of the fingerboard.
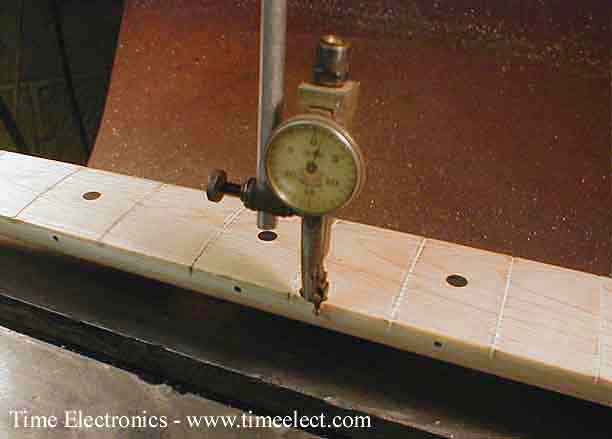
Here you see that the *run out* of the neck is now only .001 between
the ends of the neck.
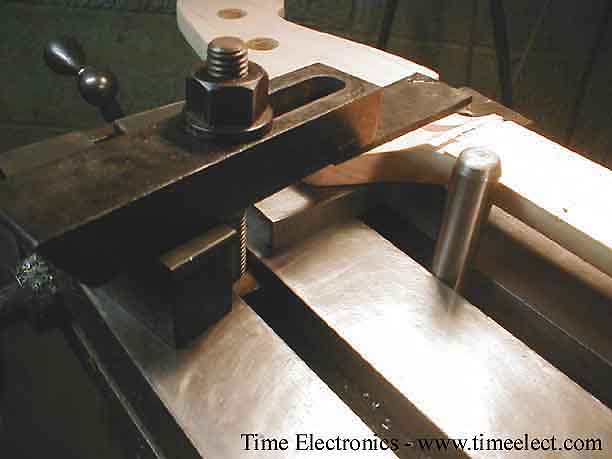
This picture shows the clamping method used on the headstock side
of the neck.

This is how the heel end of the neck was clamped to the table of
the Bridgeport.
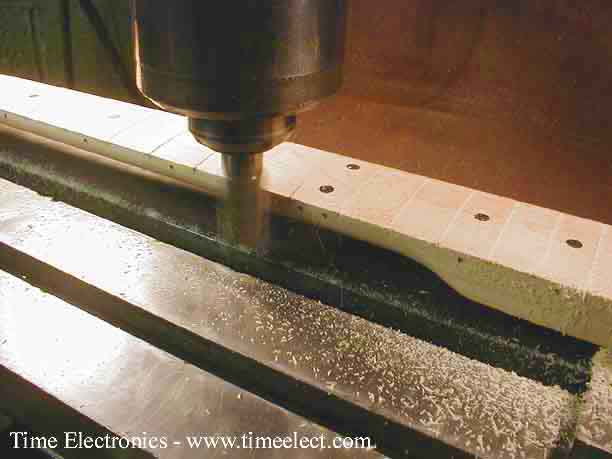
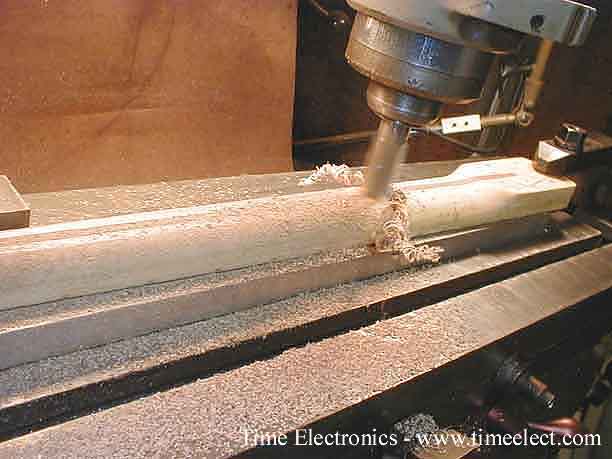
The cut from the heel side has now been started with the automatic table feed running.
Note - on other neck shaping jobs, where the frets are left in the neck, the Bridgeport cuts right through them like butter too.
Here the flash of the camera has stopped the cutting tool with the
wood flying in the air.
Now the neck has been repositioned to cut the other side. Note - the added ground steel parallels added under the headstock.
Again, starting from the heel end of the neck the cut is made on
this side of the neck.
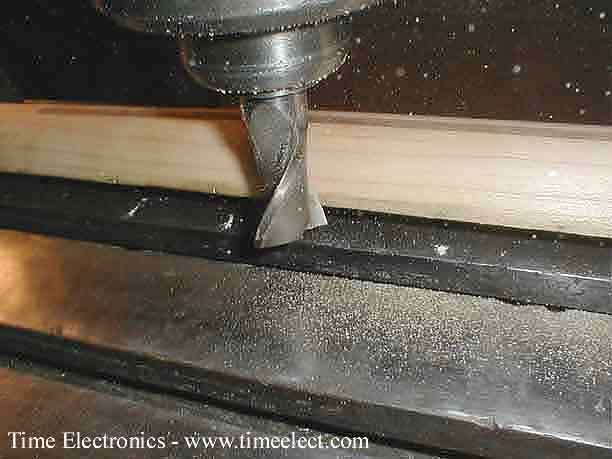
Here again, the flash has stopped the cutter, and you can see the resulting cut made to the edge of the fingerboard. Compare the shape of the edge of the fingerboard seen to the right side of the cutter to what is seen to the left side of the cutter.There is a healthy cut being made here. The old '60s Jazz Bazz necks were on the thin side and were very comfortable to the hand when played.
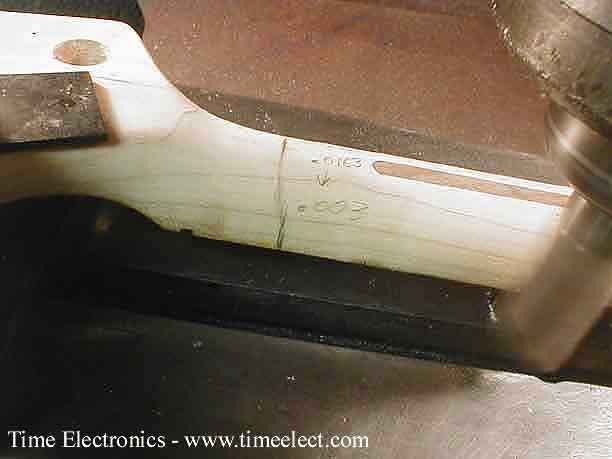
At the head stock end of this cut only .003 of an inch has to be removed, as the neck was originally made with the truss rod and front neck markers off center. When completed, the neck markers and truss rod plug will be more centered to the neck's center line.
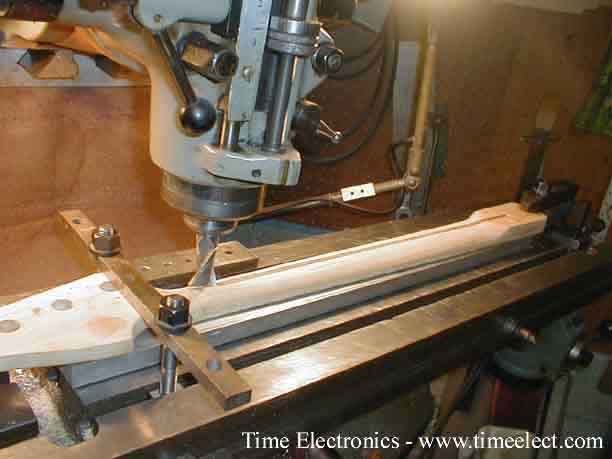
Now the neck has been setup on the Bridgeport with a very large straight edge under it. When it is clamped, the neck is held perfectly straight during the cutting operation.
Here you can see the measured feeler gauges under the straight edge to set up the proper angle of cut for the back of the neck.
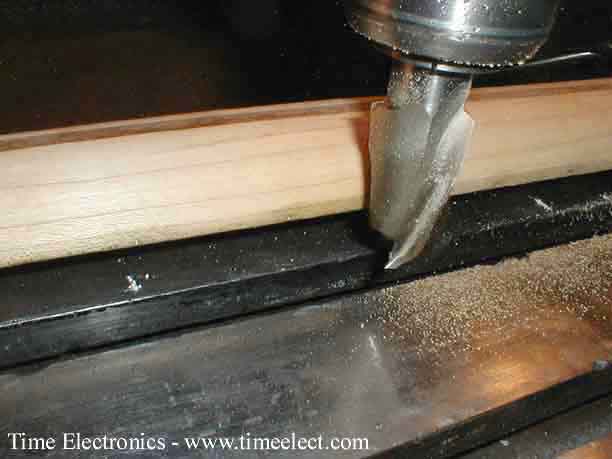
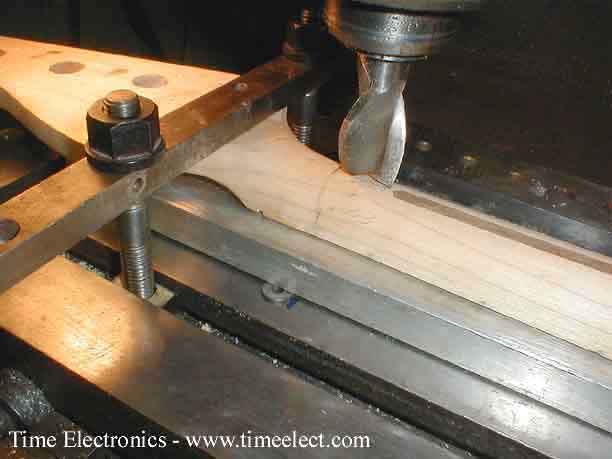
This time the cut is started from the headstock end of the neck. This is because the cutter's touch down point at the first fret position's depth dimension measurement will track through the machine setup of the neck, with the end of the cut arriving at the proper final depth dimension measurement just before the heel of the neck.
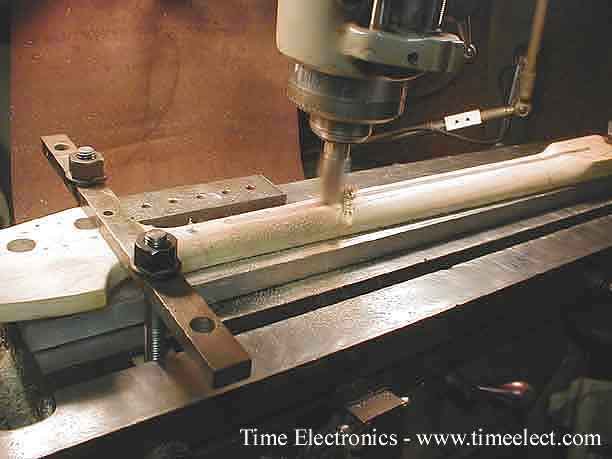
You can see as the Bridgeport's table advances, the depth of the cut to the neck is getting greater. The cut is stopped short of the heel for the curve up to the heel that the '60s neck had more than the later necks. This is later done by hand sanding.
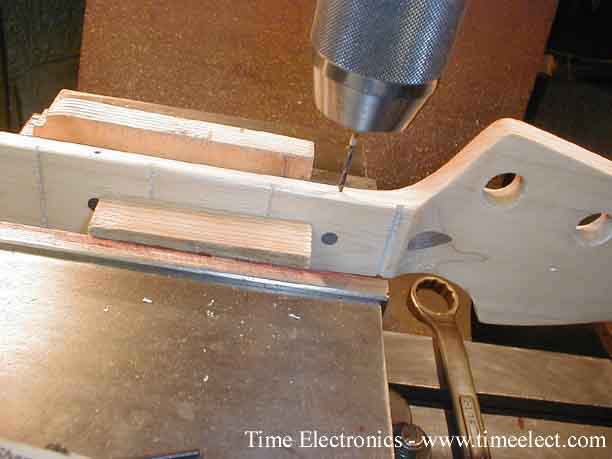
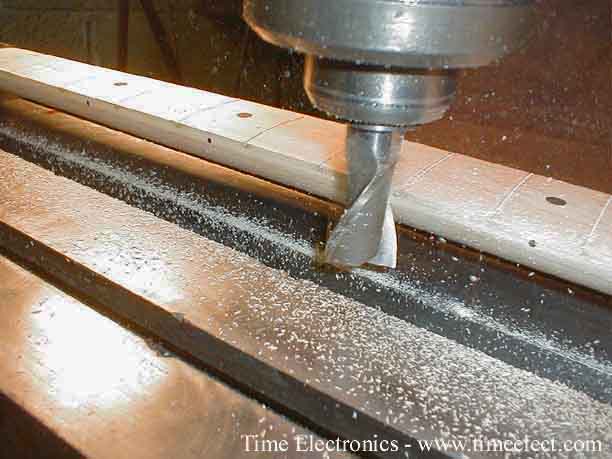
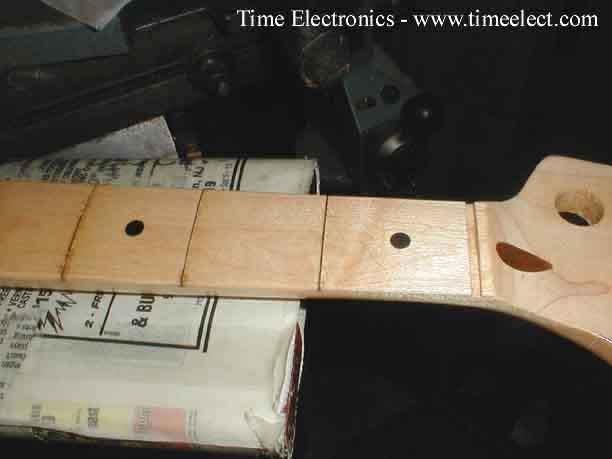
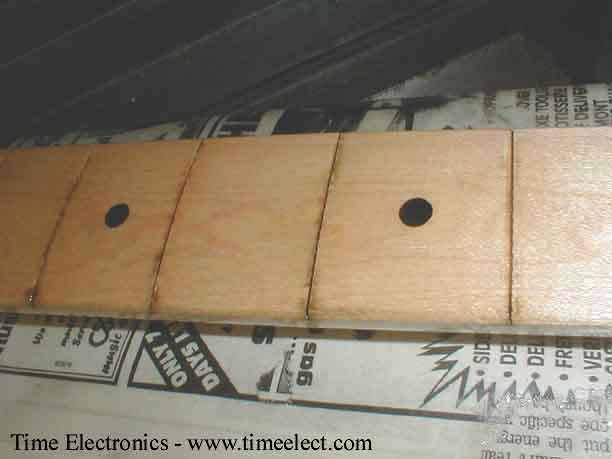
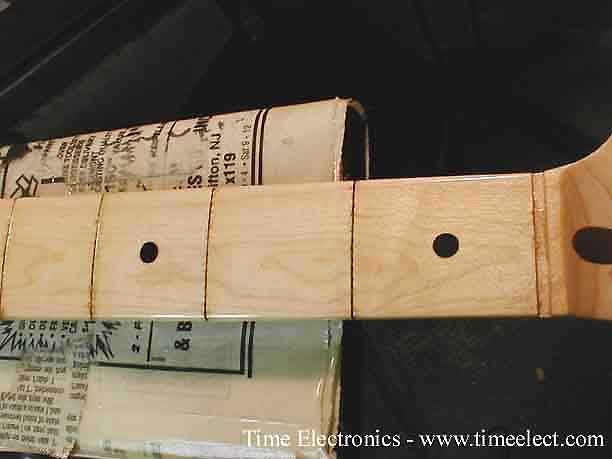
On all my personal instruments I add neck markers in front of the nut. Here you can see the fingerboard marker has already been installed and the Bridgeport is now set up to drill the side marker.
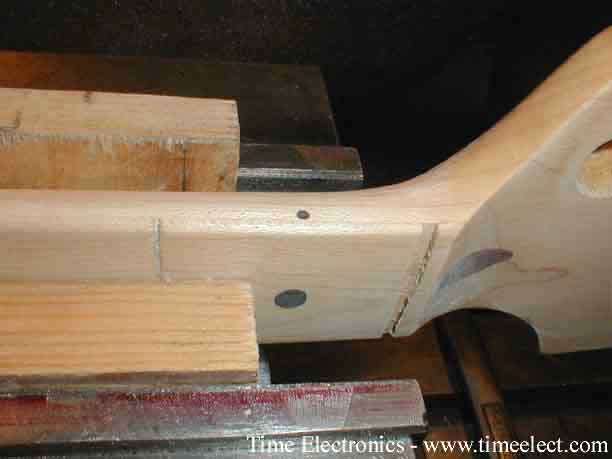
The side marker has now been installed and sanded. Now for
the paint.
Here you can see the first coat of clear lacquer has been applied.
The color change from fresh sanded is a little darker.
The grain will pop out as more coats are applied.
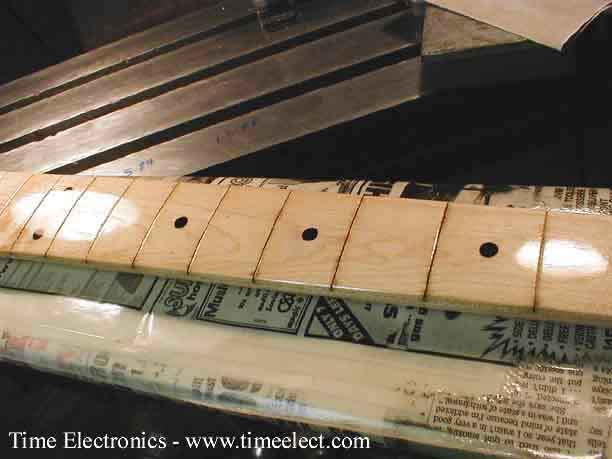
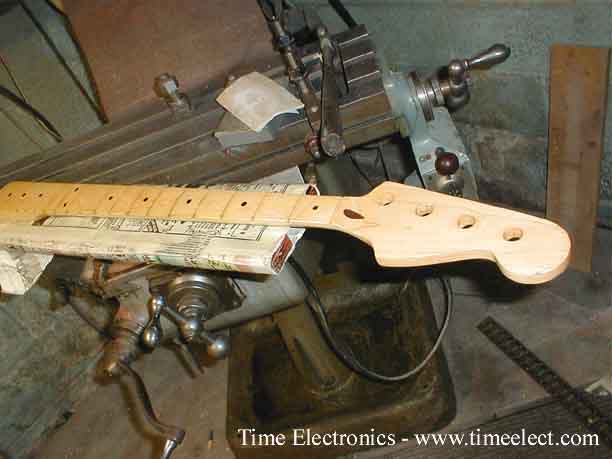
More coats of clear lacquer have been applied to the neck and it is starting to get that warm look.
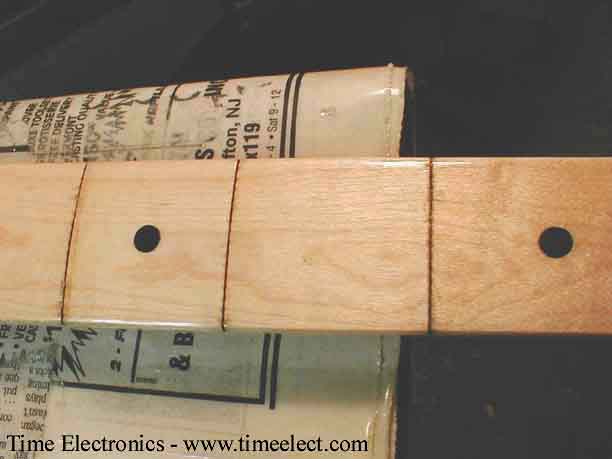
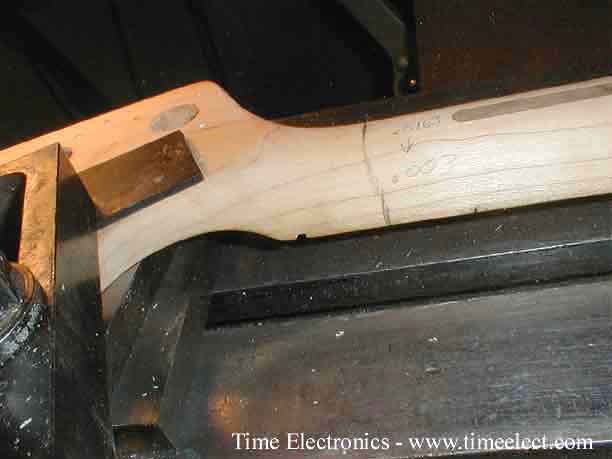
Note that the characteristic edge of the side of the fingerboard found on today's Fender necks is non-existent here. That edge is the most common neck complaint by a lot of the Fender players today.
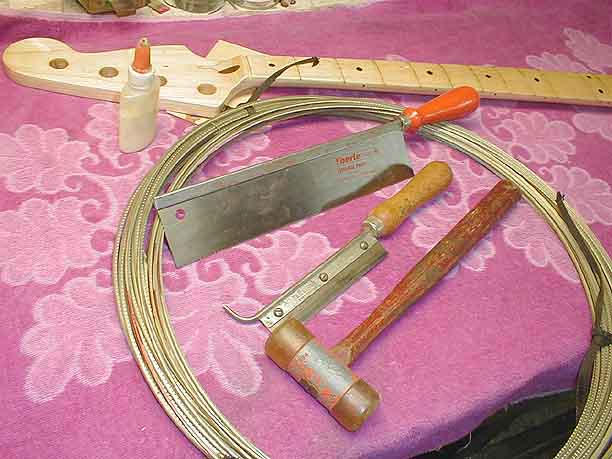
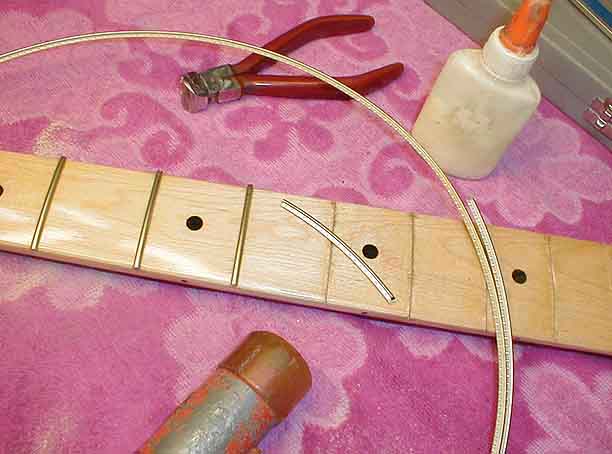
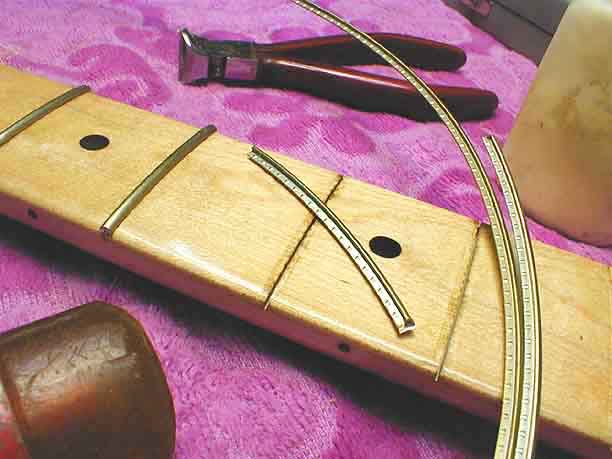
As soon as I get to putting in the frets more pictures will follow.
©Copyright R.K.Koerner 2001 All Rights
Reserved.
|