

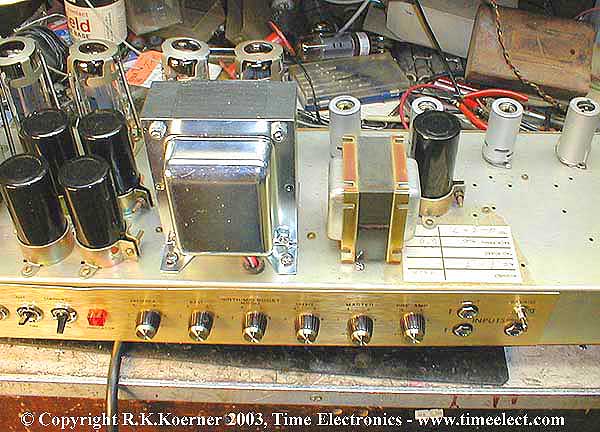
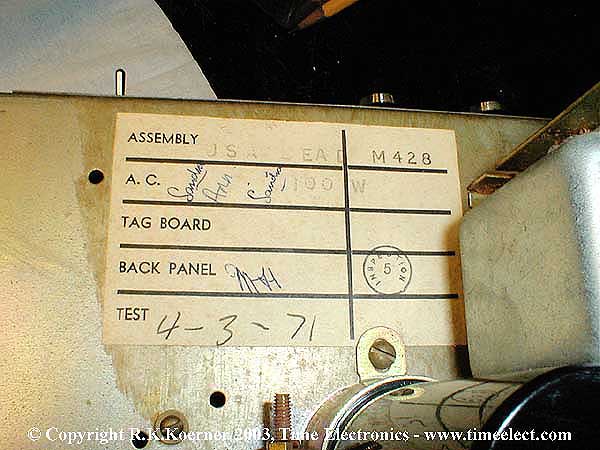
Covered With Epoxy To Hide The Secret Circuit
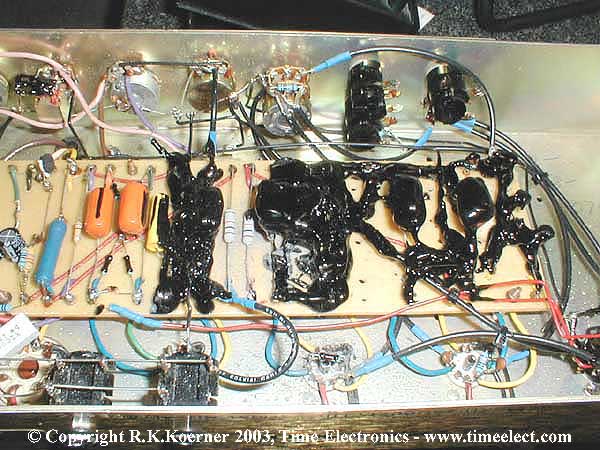
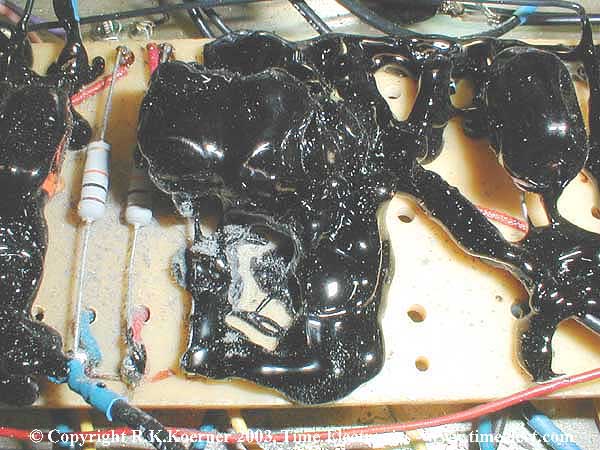
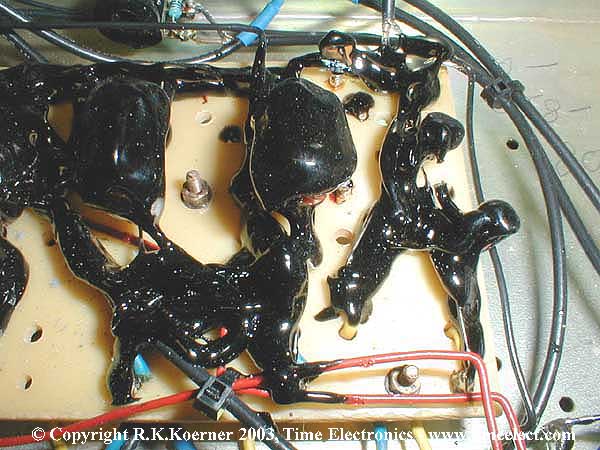
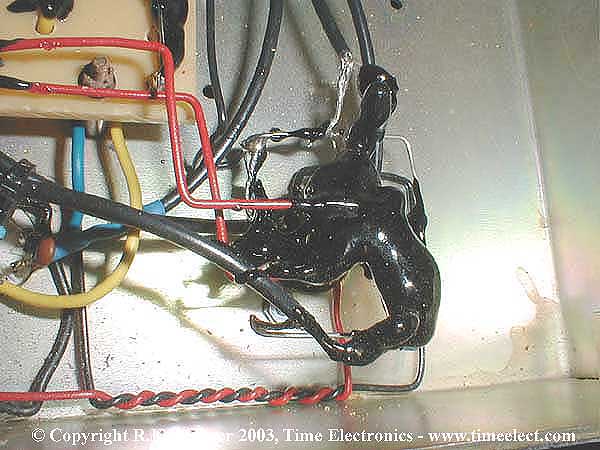
You are looking at the bottom side of a 9 pin tube
socket covered in epoxy.
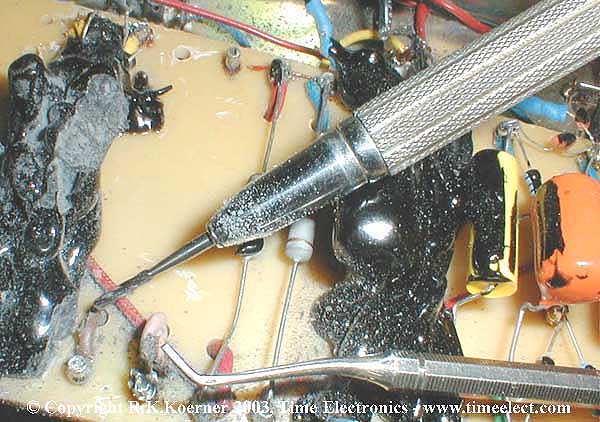
Having experimented a few solvents for epoxy, and applying heat of over 1000 degrees F, the best means for the removal of the epoxy was some old dental technology from the late 1950's.
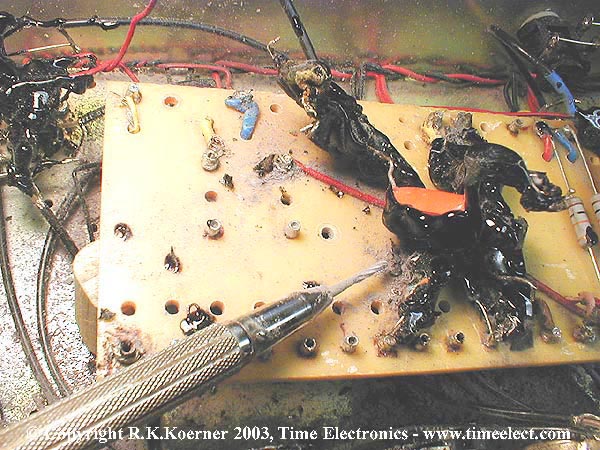
Using a carbide bone bur that the orthopedic surgeons use in the hand piece, I started my attack on the very hard epoxy. Because the bone bur head was designed to cut from the end as well as from the sides, to prevent cutting into the parts board, I had to grind flat the end of the carbide bone bur.
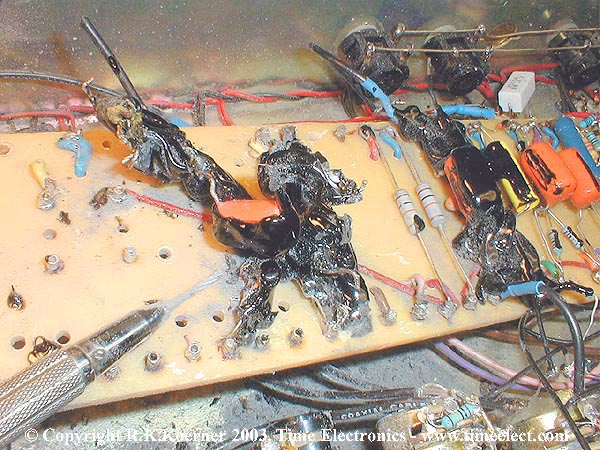
With the carbide bur spinning at over 25,000 RPM, with a light touch, I started to remove the epoxy in the same manner the dentist works on your teeth.
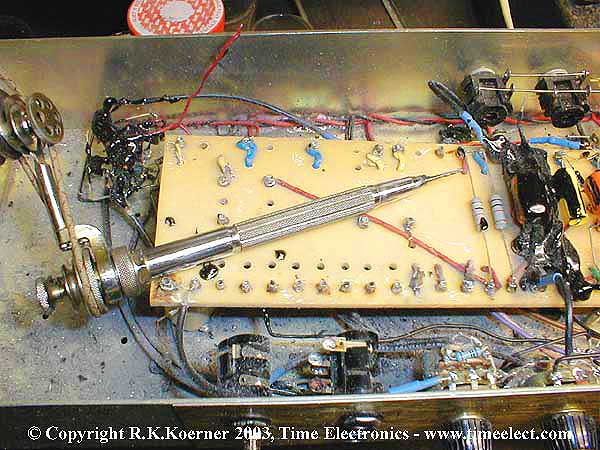
Here you can see more of the old hand piece that is powered by an old S.S.White Master Unit I had picked up a long time ago in the '70s to perform free hand mother of pearl inlay work on the fingerboards on guitars and basses. Here, it paid off having this kind of equipment in the shop.
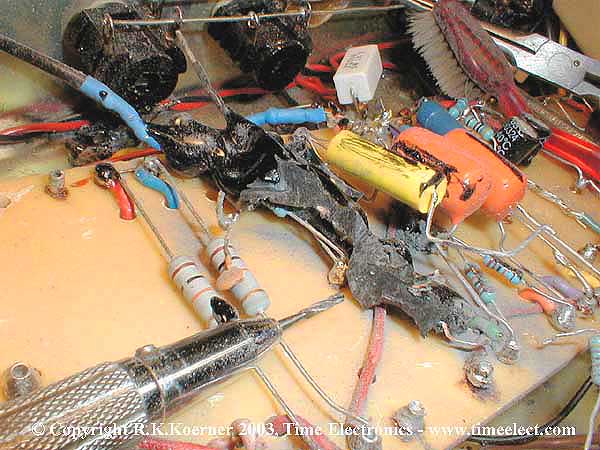
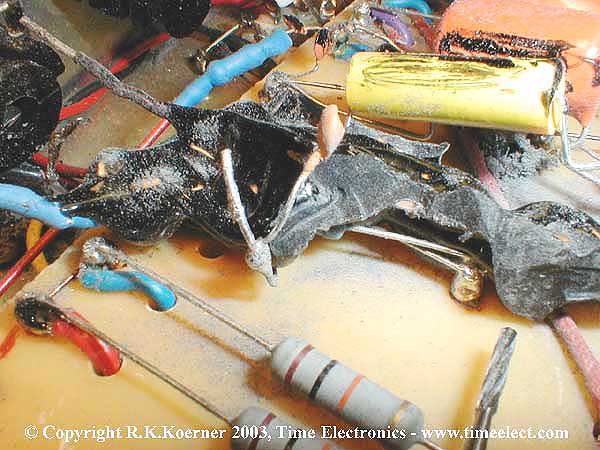
Here you can see the care taken to not damage the parts under the epoxy, in order to measure the values of the components, and later make a road map of what was done to this amplifier. For the little extra work on top of what this job already is, why not go the extra mile, and know what the epoxy covered.
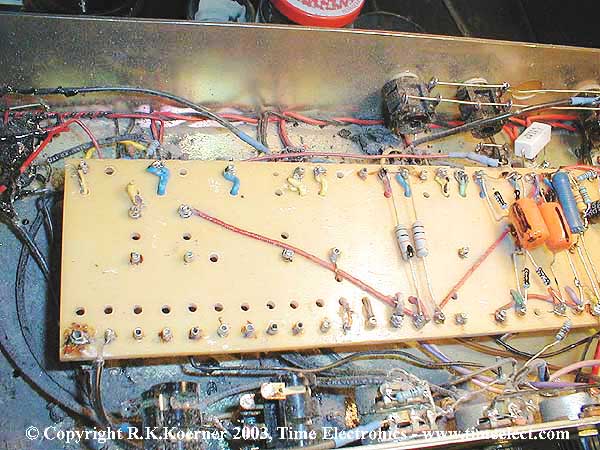
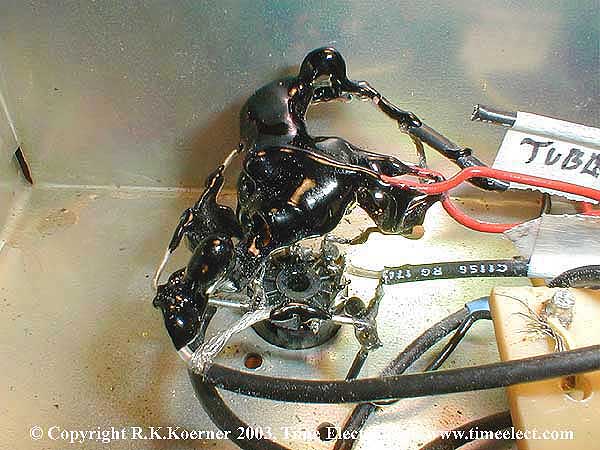
Here is the extra stage that was added to the amplifier covered with epoxy to hide the parts that were used. I had popped out the screws, and let the S.S.White do its thing on the other side of the tube socket.
Here you can see the under side where the epoxy did not cover the parts. Makes you really wonder why the underside was not equally covered with the epoxy if it was so important to hide. The part numbers and color codes are clearly seen here in this picture.
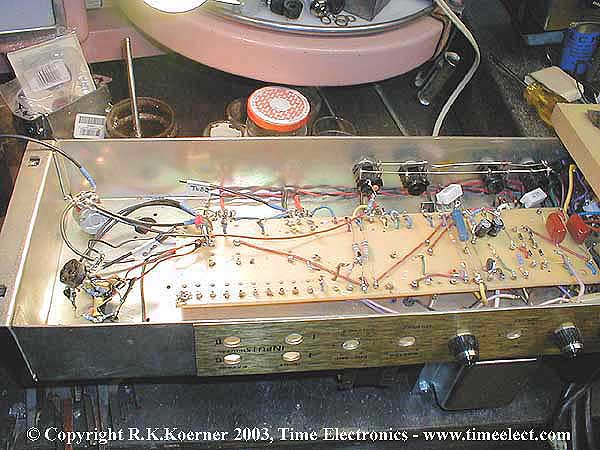
After all the epoxy has been removed, there is not very much left to what was once a very fine VINTAGE Amplifier.
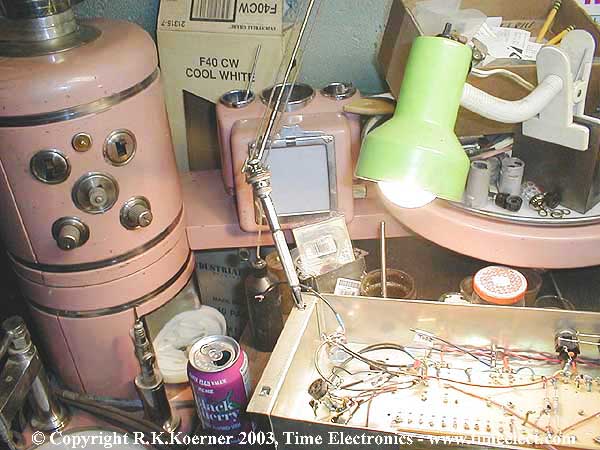
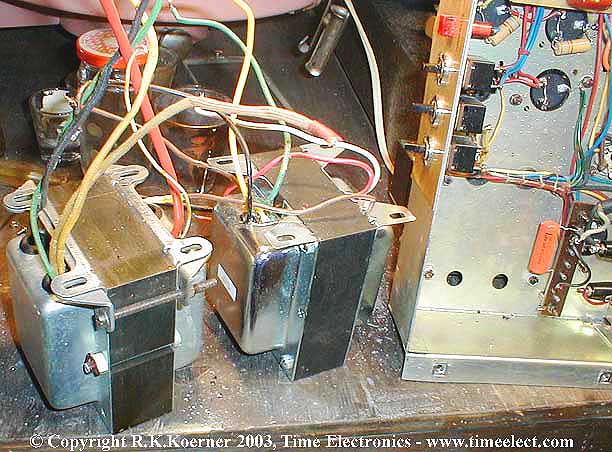
Even the output transformer had been replaced. Having the original walk in with the amplifier was a blessing. For the life of me, I can't see where people get the notion that the transformer that created the Sonic Magical History of this amplifier, is in some way inferior, and can be improved. After all, this Marshall is basically what Jimi Hendrix used LIVE at Woodstock in 1969.
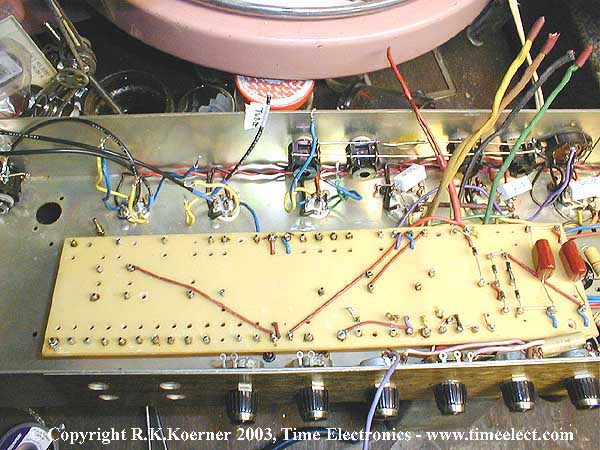
Finally, the point is reached where parts can now be installed to restore, what seems to be is a total rebuild of the amplifier.============================================================
Subject: Hacked '71 Marshall Major..
Date: Mon, 26 May 2003 18:54:17 +0200
From: "H.J. B." <hjbxxx@xxxxxxx.nl>
To: richk@timeelect.comRich Koerner/ People at Time Electronics;
Of course you can add my comments to the page of this Marshall, it's fine
with me! No Problem! But make sure to put some nice "after restoring" pics
on them aswell! JGood luck with the rage counseling! :-)
I cant stop grinding my teeth while looking at those "mod.pics" aswell!Regards; RB
Subject: Your site page: A Major Hacked Up *MINT* 1971 Marshall
Date: Thu, 22 May 2003 21:59:21 +0200
From: "H.J. B." <hjbxxx@xxxxxxx.nl>
To: richk@timeelect.comPeople at Time Electronics;
I just saw what was done to that '71 Marshall!
Now THATS A CRIME!!Who could have hacked that amp, and still be able to look in the mirror???
I just wanted to say that its a good thing to show people how it is NOT
done, and take time to restore it to its rightful glory!
That mod. should NEVER have happened!Thank god it's in the right hands now! :-)
Good luck collecting some origional replacement parts! I think it's a true quest!
I cant wait how the amp will turn out!
Keep up the good work, and make it a masterpiece!!I hope these words work as a boost of motivation!
Kind regards, and greetings from Holland!;
RB, The Netherlands, Europe============================================================
Documenting text to each of the pictures, will detail the amount work involved to bring this amp back to it's former original factory high performance standards, will be added later when the restoration is completed.Locating all the original components for the parts board is going to be a real big problem.
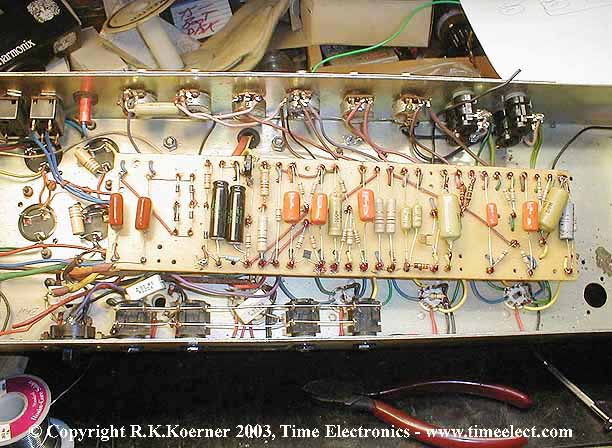
We just had an 11th hour surprise delivery from UPS. The last of the missing mustard caps finally arrived. It only took almost two years to find all the right parts. Not to also mention, finding the right colored wire to match the original wire.Now, things are looking like a Marshall of this vintage is supposed to look.
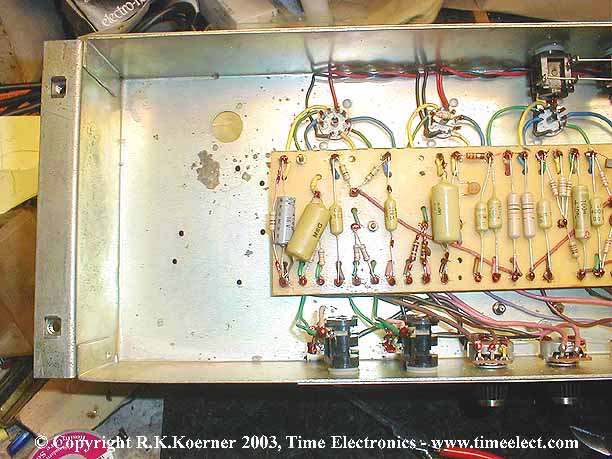
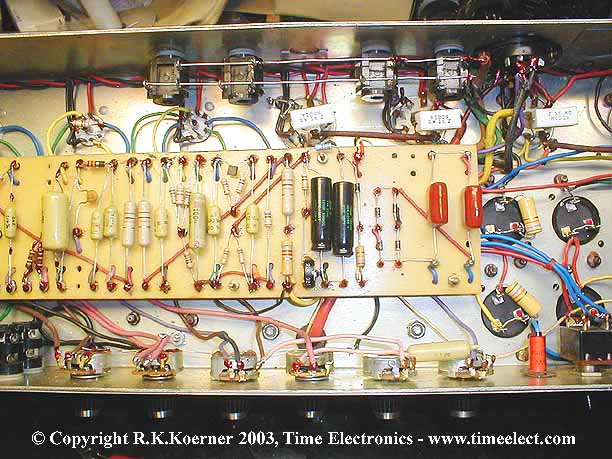
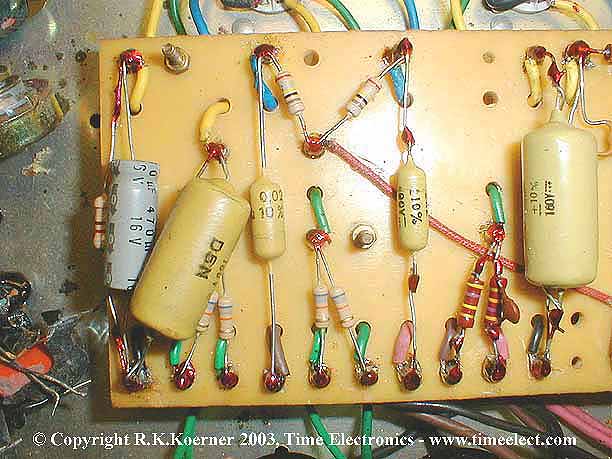
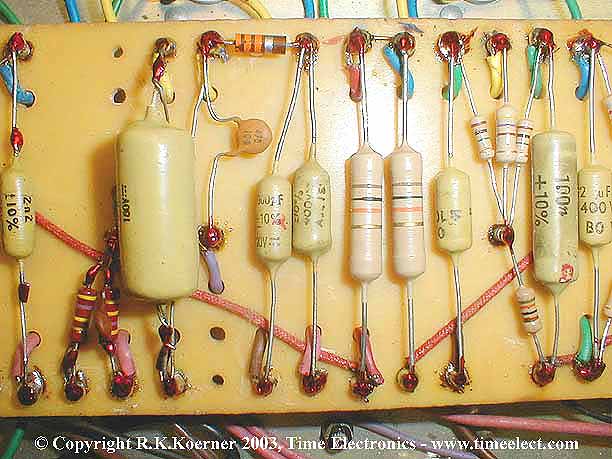
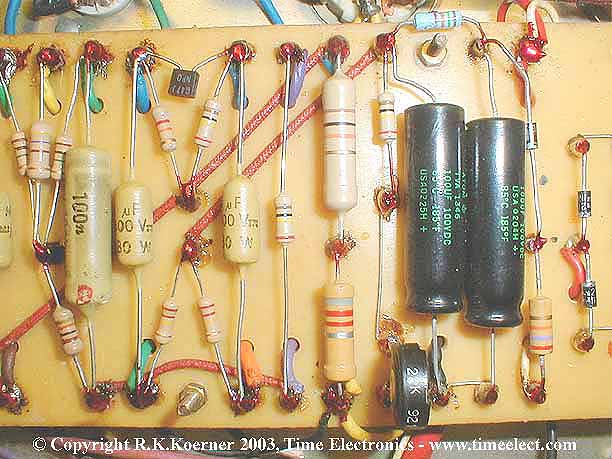
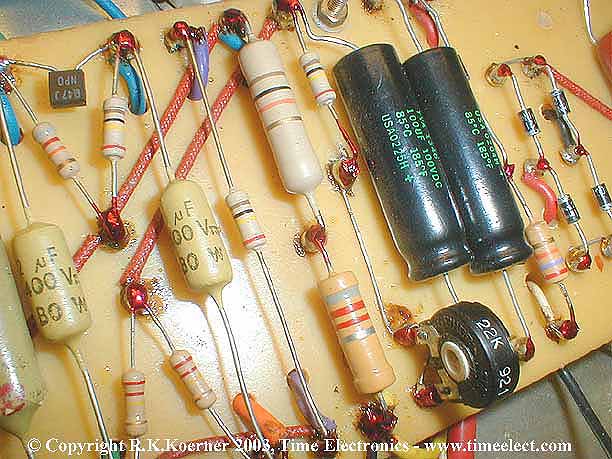
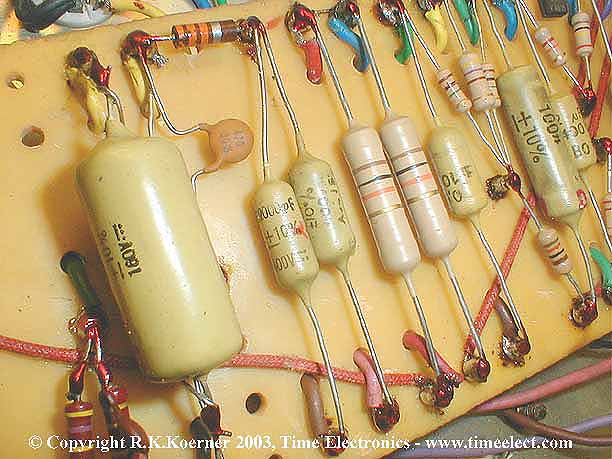
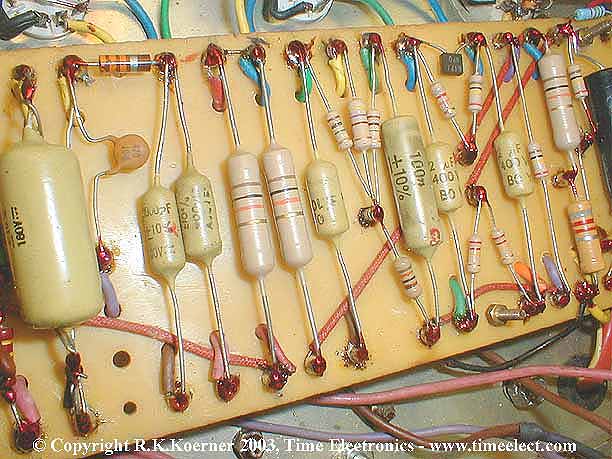
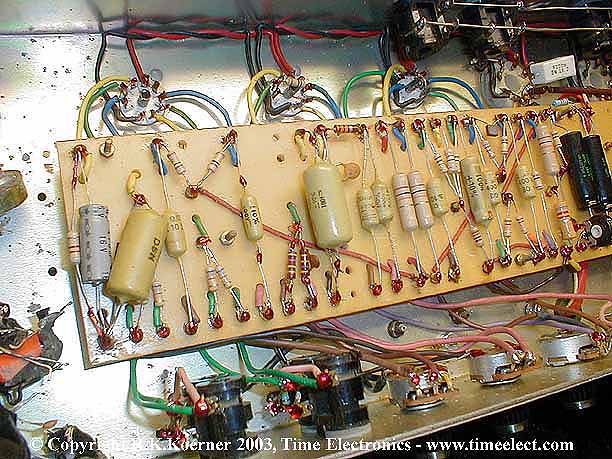
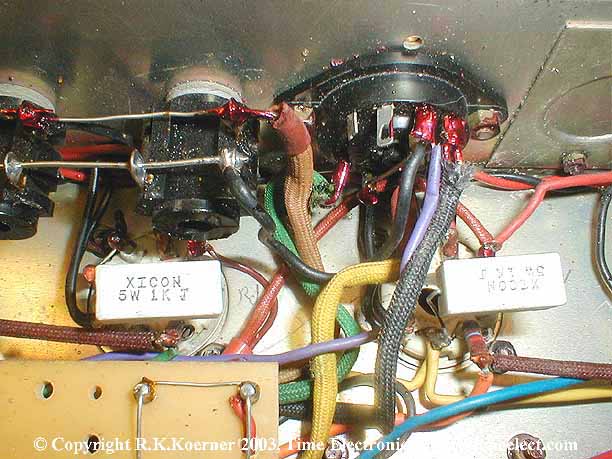
Most hold the opinion that the magical sounds of this amplifier was because of the characteristics the original parts board components, and the transformers used in this amplifier of the '70s.
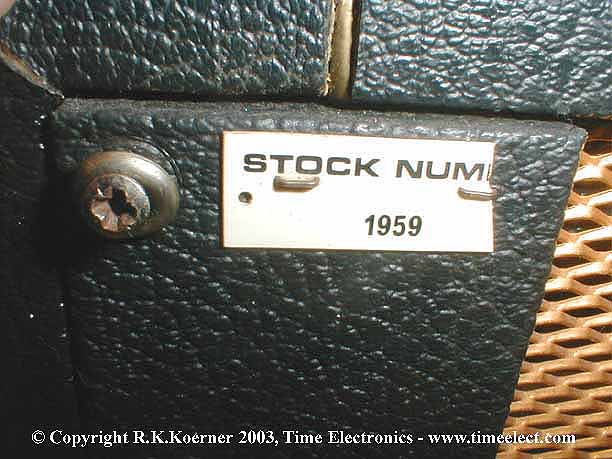
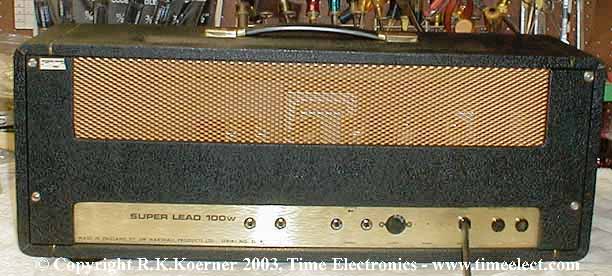
As you can see, the cabinet is in mint shape condition.
The bench testing, burn in, and play testing has been completed. It's now ready to put back into the cabinet.
The front panel is in mint condition.
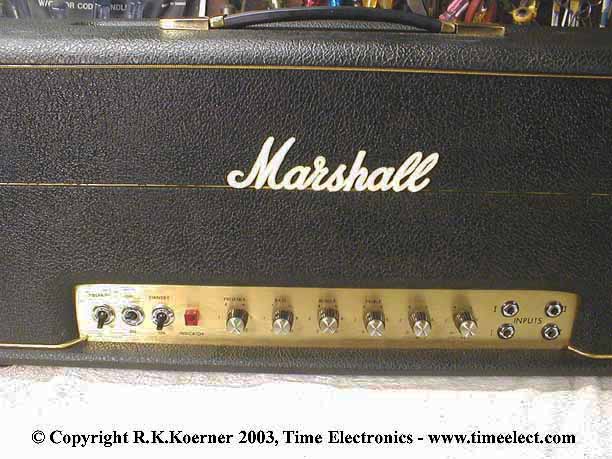
The end of a long and worth while restoration project. Amps like this should never be modified. They are what gave the sounds we listen to in our musical history.
©Copyright R.K.Koerner 2003 All Rights
Reserved.
|